Here is a recipe for a website, complete with timing, intensity ratings, and detailed nutritional information.
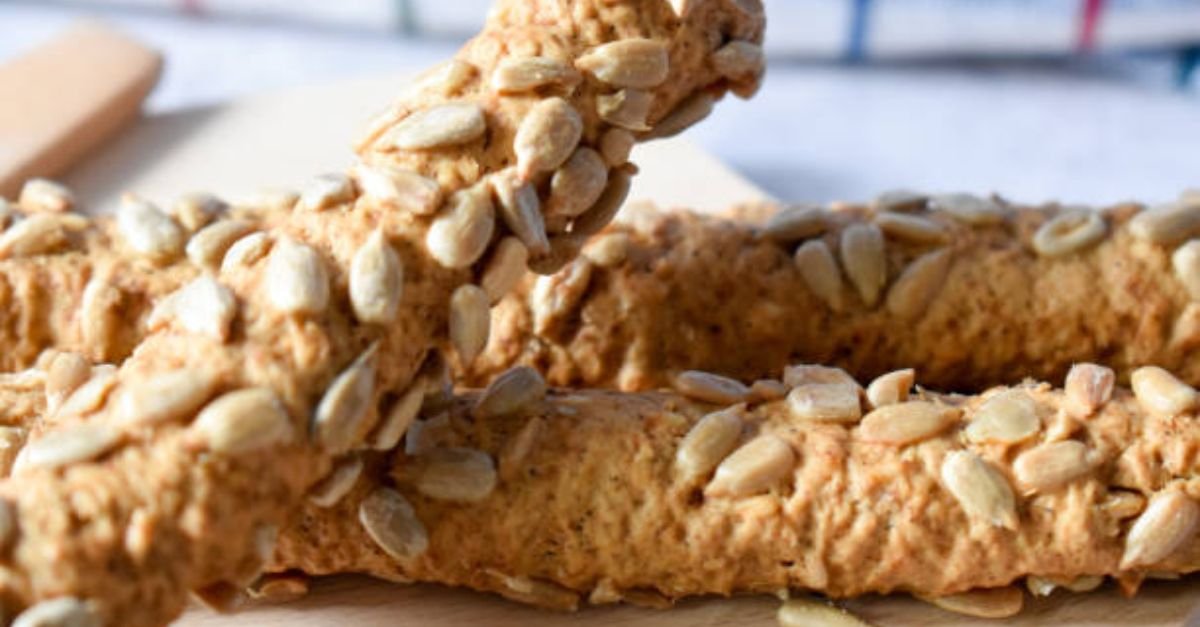
No-Bake Keto Protein Bars
The Perfect Low-Carb, High-Protein Snack
Craving a chewy, satisfying snack that won’t kick you out of ketosis? These No-Bake Keto Protein Bars are about to become your new favorite staple. They are incredibly easy to make, requiring just 10 minutes of active prep time and zero oven time. Packed with healthy fats, clean protein, and minimal carbs, they taste like a decadent cookie dough treat but are healthy enough to fuel your workouts or curb that mid-afternoon slump.
Recipe Details
-
Prep Time: 10 minutes
-
Chill Time: 30 minutes
-
Total Time: 40 minutes
-
Intensity: Very Easy (Minimal)
-
Servings: 10 bars
-
Dietary Info: Keto, Low-Carb, Gluten-Free, Grain-Free, No-Bake
Why You’ll Love This Recipe
Unlike many store-bought keto bars that can be dry, chalky, or filled with sugar alcohols that upset your stomach, these homemade bars are soft, chewy, and use only whole-food ingredients. They are the ultimate “fat bomb” and protein bar hybrid, ensuring you stay full and energized.
Ingredients
For the Bars:
-
1 ½ cups Almond Flour (finely ground, blanched)
-
½ cup Vanilla or Unflavored Whey Protein Isolate (see notes for vegan option)
-
¼ cup Unsweetened Vanilla Protein Powder (or additional whey/plant-based)
-
⅓ cup Sugar-Free Maple Syrup or Honey Substitute (such as Lakanto or ChocZero)
-
¼ cup Natural Drip Almond Butter or Peanut Butter (runny consistency)
-
¼ cup Coconut Oil, melted
-
1 teaspoon Vanilla Extract
-
¼ teaspoon Pink Himalayan Salt (or sea salt)
Optional Mix-Ins:
-
⅓ cup Sugar-Free Chocolate Chips (Lily’s brand recommended)
-
¼ cup Chopped Pecans or Sliced Almonds
Equipment Needed
-
Large mixing bowl
-
Small microwave-safe bowl (or saucepan)
-
Spatula
-
8×8 inch baking pan
-
Parchment paper
Instructions
Step 1: Prep Your Pan
Line an 8×8 inch baking dish with parchment paper. Leave some overhang on two opposite sides—this will act as “handles” to easily lift the bars out later.
Step 2: Combine Dry Ingredients
In a large mixing bowl, whisk together the almond flour, protein powders, and salt. Make sure there are no clumps. If you are using chocolate chips or nuts as mix-ins, set them aside for now—do not add them to the dry mix yet.
Step 3: Melt the Wet Ingredients
In a microwave-safe bowl, combine the almond butter and coconut oil. Microwave in 20-second intervals until melted and smooth. Alternatively, you can do this in a small saucepan over low heat on the stove. Once melted, stir in the sugar-free maple syrup and vanilla extract until the mixture is fully combined and glossy.
Step 4: Combine Wet and Dry
Pour the wet mixture into the bowl with the dry ingredients. Using a firm spatula, fold everything together. At first, it will look crumbly, but keep pressing and folding. The moisture from the almond butter and syrup will hydrate the almond flour and protein powder. You should end up with a thick, cohesive “dough” that holds together when pressed.
Step 5: Fold in the Mix-Ins
If using, gently fold the sugar-free chocolate chips and nuts into the dough. This ensures they are evenly distributed throughout the bars.
Step 6: Press into the Pan
Transfer the mixture to your prepared pan. This is the most important step for texture! Place a second piece of parchment paper over the top of the mixture. Use your hands or the flat bottom of a measuring cup to press down firmly and evenly. Press until the mixture is tightly compacted and flat. The harder you press, the better the bars will hold together.
Step 7: Chill to Set
Place the pan in the refrigerator for at least 30 minutes, or until the bars are firm to the touch.
Step 8: Slice and Serve
Once firm, use the parchment overhang to lift the block out of the pan. Place it on a cutting board and use a sharp knife to cut into 10 even bars. For clean cuts, wipe the knife clean between slices.
Storage Tips
-
Refrigerator: Store bars in an airtight container in the fridge for up to 2 weeks. They are meant to be eaten cold or at room temperature.
-
Freezer: These bars freeze beautifully! Wrap them individually in parchment paper and store them in a freezer bag for up to 3 months. Enjoy straight from the freezer for a firmer texture, or let them thaw for 5 minutes.
Recipe Notes & Substitutions
-
Protein Powder: Whey protein isolate gives the best texture (chewy, not dry). If using plant-based protein (like pea or brown rice), the mixture may be drier. You may need to add an extra tablespoon of melted coconut oil or almond butter to help it bind.
-
Nut Butter: Almond butter gives a neutral, “cookie dough” flavor. Peanut butter works great too but will add a stronger peanut taste. Sunflower seed butter can be used for a nut-free version.
-
Sweetener: It is vital to use a sugar-free syrup that is thick, not watery. Thin syrups will make the bars crumbly.
Nutritional Information
*(Per serving, based on 10 bars, using whey protein and almond butter, excluding optional chocolate chips/nuts)*
-
Calories: 218 kcal
-
Fat: 17g
-
Carbohydrates: 6g
-
Fiber: 2.5g
-
Net Carbs: 3.5g
-
Protein: 11g
Note: Nutrition is an estimate and will vary based on the specific brands of protein powder and sweetener used.